Aerosol cleaning introduces a continuous supply of clean, unused solvent throughout the entire bench cleaning process of printed circuit boards (PCBs). Aerosol cleaning prevents the introduction of new contaminants. While there are some obvious advantages associated with aerosol cleaning, questions remain as to whether or not this method of benchtop cleaning can consistently and reliably clean a circuit board. This paper examines the roles that different variables play in aerosol cleaning and offers guidelines to improve the aerosol cleaning process.
For testing purposes, we're using boards which were built with Kester’s FL250D (Sn63Pb37), no-clean paste to attach two QFNs and one QFP. Two components (QFN B and QFP) were fluxed, with Amerway #100 Type "R" Non-Activated Rosin Flux, to simulate rework. QFN A was untouched to act as a control. This also allows us to check for cross-contamination. Two drops (from glass pipette) of flux were added, one to the top and one to the bottom of QFN B. Four drops were added to the QFP, one to each side. The boards were then reflowed using the handheld heat/air gun at 400oF for two minutes.
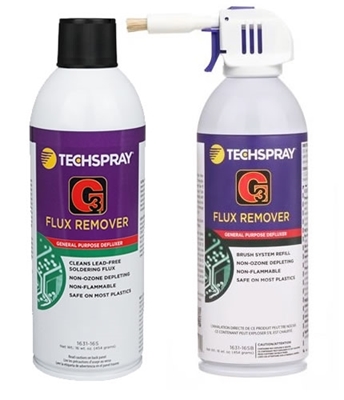
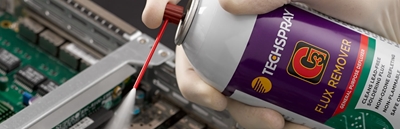
Techspray’s G3 Flux Remover (part #1631-16S) aerosol was then used for benchtop removal of the flux. This solvent was chosen due to its cleaning effectiveness of Type "R" Non-Activated Rosin Flux - the flux used to simulate rework. The objective was to use a solvent with a known cleaning effectiveness in order to study the impact of the solvent delivery. Board cleanliness was determined by a visual inspection under 64X magnification.
Use a straw attachment for greater control and less waste
The use of the straw attachment allowed for a more controlled spray, thus eliminating excessive solvent waste. The straw was also useful in directing exactly where the solvent went. This allowed the user to guide the solvent under the component. When the solvent was sprayed at the target area (for instance, the sides of the component) without the straw attachment, much of the material was wasted on areas surrounding the target and very little of the material was able to travel under the component (see Figure 1).
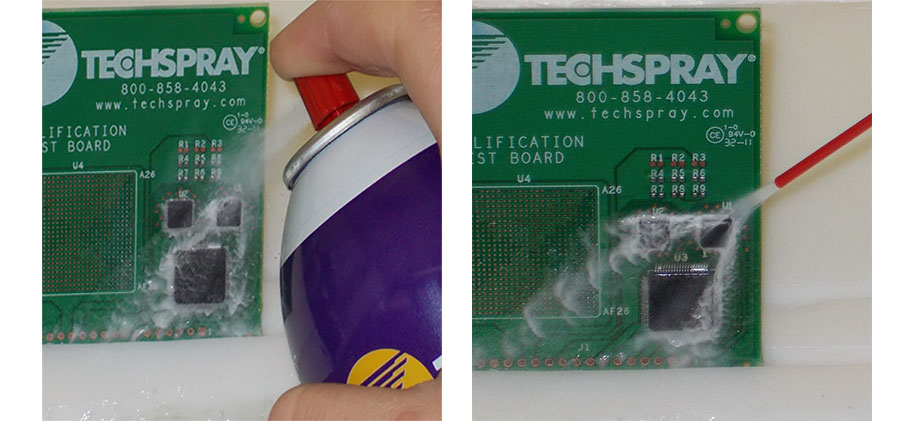
Figure 1: Visual comparison of an aerosol spray without (left) and with a straw attachment.
Spray techniques for effective cleaning under components
Best results were obtained when both the corners and the sides of each contaminated component were addressed, as opposed to focusing solely on either the corners or the sides. Directing solvent precisely into the corners helped break up any flux dams which may have been present. Clearing the corners first is imperative to opening the maximum number of channels for solvent to pass through. An optimal cleaning effect cannot be achieved when the sides are cleared first because these channels would not have been fully opened. The more open channels available, the greater the opportunity for the flux to be exposed to the solvent. Increasing solvent exposure results in a higher likelihood that all flux trapped under the component will be able to escape.
The choice to use an oscillating or stationary spray was dependent on the size of the component. For a small component it was sufficient to use a stationary spray on the component sides. For larger components, a cleaner board was achieved when the spray oscillated back and forth across each side of the component. This oscillating spray gave the solvent opportunities to flow up under the component from many angles, similar to the way that the flux had.
How does the angle of spray affect efficiency?
An exact straw angle of 30o, 45o, or 60o to the board had no impact on the cleanliness of the board. General downward or upward angles were sufficient. In order to make the most of the straw, think about the direction in which the residues need to travel. When trying to remove residues from under a component, spray close to the board at an angle that guides the solvent under the component. When all of the residues have been removed from underneath the component, spray from the top of the component, angling out along the edges to push any residues out and away from the component.
The right and wrong ways to use cleaning tools
Handheld brushes and swabs left the board looking dirtier than it started. Brushes and swabs spread partially solvated flux around the components which then dried, leaving a white residue. None of the polyurethane foam swabs held-up well in this application. Foam swabs became flimsy when saturated with aggressive solvents and were easily torn. Another problem with handheld tools is that the solvent evaporates too quickly. Best results were achieved when a final rinse was utilized (see Figure 2). The key is not to let the board dry out. When the board dries, the partially solvated flux dries, leaving behind the aforementioned white residue. A slower evaporating solvent, like IPA, would help avoid the evaporation issue but should still be followed by a rinse (see more details on rinsing below). In addition, some solvent may travel under the component during scrubbing, but without the force of an aerosol spray, the likelihood that the residues under the component will be pushed out is slim.
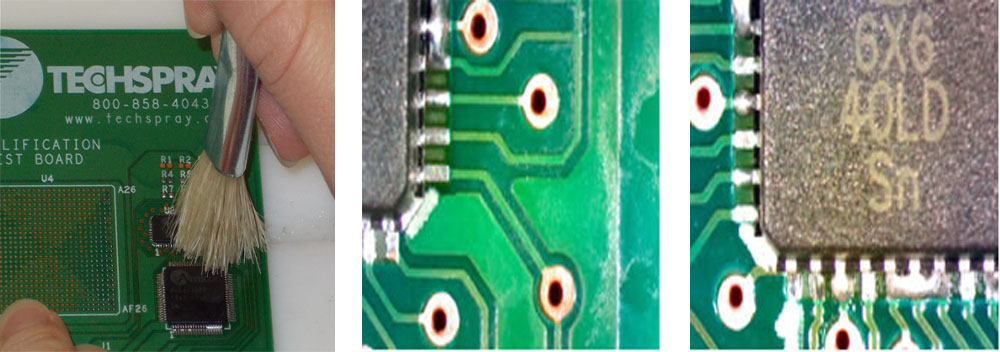
Figure 2: Board cleaned with a handheld brush. The components were wetted, and then the brush was wetted and used to scrub the contaminated area. The board in the first picture did not undergo a final rinse. The board in the second picture did (Note: all flux was not removed).
Some solvent cleaners come with a brush that attaches directly to the spray head, and the solvent flows through the brush at a slow rate (see Figure 3). This is particularly common with defluxers available in Europe. Brush attachments produced results that were a step above handheld tools, due to the benefit of a constant supply of virgin solvent. However, brush attachments did not produce the same level of cleanliness observed in aerosol only cleaning. The brush attachment allows for scrubbing problem areas, which can be beneficial. However, the force of an aerosol through a straw attachment produced similar results.
Brush attachments, like handheld tools, have the potential to introduce new contaminants. In addition, for a brush attachment to reach its full potential, a separate aerosol is required both for cleaning under components and for the final rinse. Like handheld tools, without the force from an aerosol spray, some solvent may travel under the component during scrubbing; however, the likelihood that the residues under the component will be pushed out is slim. Because the use of a brush attachment requires that the target area remain saturated, the target area remains in a solvent pool throughout the cleaning period. This increases the likelihood that residues may only be relocated on the board instead of being removed completely. A final rinse was found to be especially important for any applications utilizing the brush attachment in order to ensure that all residues were removed from the board (see Figure 3).
There is also a commercially available brush system that provides a separate brush mechanism for cleaning, which is continually fed by the aerosol can. No cleaning advantages associated with this system were observed when compared to a brush attachment. A brush system or attachment is often used to reduce solvent usage, but this relative advantage is greatly decreased if a proper rinse is applied (see Figure 4).
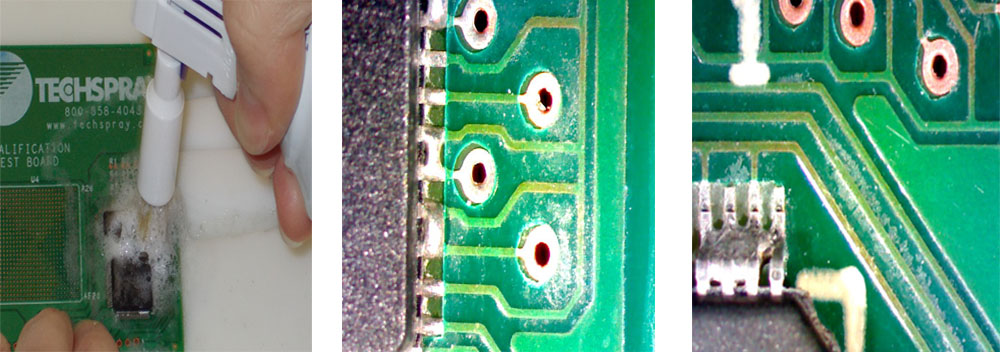
Figure 3: Brush attachment and board cleaned with brush attachment (no separate aerosol was used). No pre-rinse or final rinse utilized. White residue shown around QFN B and QFP, respectively.
Figure 4: Board cleaned with brush attachment (separate aerosol was used for pre-rinse and final rinse). Some white residue shown around QFN B and QFP, respectively.
A final rinse is required
The final rinse was found to be a necessary step. This step ensures that all of the solvated flux residues, which have been removed from under and around components, flow off the board completely, and are not simply relocated.
At first glance, our recommended methods may seem over-the-top. Why go through all the trouble and expense of thoroughly cleaning under the components when no one can see the difference? It all comes down to the reliability requirements of the electronics. For disposable electronic devices assembled with no-clean flux, an overall rinse may be all that is needed for acceptable results. If higher reliability is required, greater care is needed. In these cases, the techniques noted above will help prevent latent failure of the final device due to ionic contamination. Spending the time and effort up-front is often money well spent.