
Our website use cookies, which are necessary for its functioning and required to achieve the purposes provided in our cookie policy. To find out more or withdraw your consent to all or some of the cookies, please refer to the cookie policy. By clicking 'OK', closing this banner, clicking a link or continuing to browse, you agree to the use of cookies.
Privacy Policy

PCB Repair Pens
Pens for Fast, Easy PCB Repair & Rework
TraceTech board repair system allows any level of technician to quickly perform quality board repairs in-house without the use of expensive equipment or time-consuming and unsightly jumpers. Meets IPC board repair standards. Other TraceTech pens are available to allow quick, convenient, and high-quality board repair and rework.
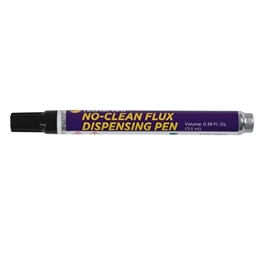
TraceTech No-clean Flux Pen - Formulated to perform at the elevated temperatures of lead-free soldering but is also effective for tin-lead soldering as well. It's designed with a low surface tension to prevent bridging. Post-soldering cleaning is optional because the light residue left after soldering is barely noticeable, is non-corrosive, and is halide free.
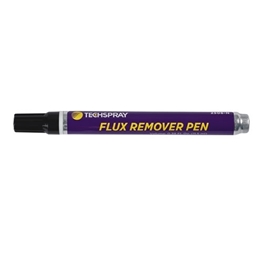
TraceTech Flux Remover Pen - Provides convenient touch-up cleaning of flux residues, including R, RMA, SA, and no-clean fluxes.
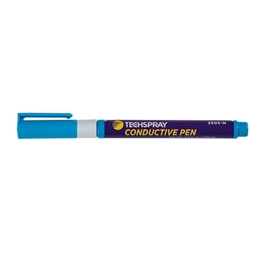
TraceTech Conductive Pen - It allows you to literally redraw the trace, because it contains highly conductive silver suspended in a liquid polymer.
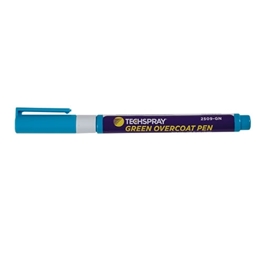
TraceTech Green Overcoat Pen - This pen contains green acrylic conformal coating, which can insulate circuit board traces and components against high voltage arcing and provides excellent protection from moisture and fungus.
TraceTech Conformal Coating Remover Pen - Allows you to remove a tight area of coating around a repair area without affecting the rest of the PCB.
Filters
Applied Filters
TraceTech Conformal Coating Remover Pen
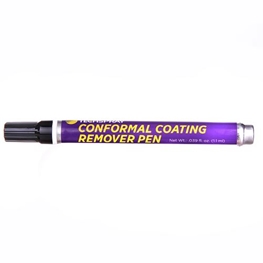
Spot coating remover in applicator pen for PCB rework and repair
FAQ's
How do I use a conductive pen?
Here's a step-by-step guide on how to use a conductive pen:
Click here for an illustrated guide to using a conductive pen for PCB repair.
- Expose conductive surface of repair area: When repairing a trace, conductive ink needs to have good contact with the beginning and end of the gap. This often involves scraping way resist to expose the conductive surface.
- Prepare the surface: Clean and free from any debris, dust, or old solder. You can use isopropyl alcohol and cotton swabs to clean the area properly.
- Shake the pen: Before using the conductive pen, shake it vigorously until you hear the click of the internal bearing, which provides agitation within the pen. If the ink is dark and not a silver color, continue to shake the pen to fully mix the ink.
- Prime the pen: When using the conductive pen for the first time or after a long period of non-use, you may need to prime the pen to get the ink flowing smoothly. Press the tip of the pen against a scrap surface (e.g., paper or a non-conductive material) until the ink starts flowing. You may need to clear the tip of dried ink with a wipe saturated with solvent like isopropyl alcohol (IPA).
- Draw the conductive trace: Hold the conductive pen like a regular pen or marker, and apply gentle pressure to the surface while squeezing the barrel. Be precise and steady in your movements to get a clean line. You can draw lines, bridges, or connect components, just like you would with a pen or a pencil.
- Cure the ink: Let the ink air dry for at least 1 hour.
- Test the conductivity: Once the ink is cured, use a multimeter or continuity tester to test for continuity between the endpoints of the trace to ensure the connection is complete.
- Clean the pen tip: After use, make sure to wipe the tip of the pen clean with a wipe. This prevents the tip from getting clogged and ensures better performance in the future.
Click here for an illustrated guide to using a conductive pen for PCB repair.
How do I use no-clean, rosin, or aqueous flux dispensing pen?
Using a flux dispensing pen, whether it's a no-clean, rosin, or aqueous flux, is a straightforward process. Flux is used in soldering to remove oxidation and improve the wetting of solder, ensuring better solder joints. Here's a step-by-step guide on how to use a flux dispensing pen:
1. Preparation:
Ensure you have the appropriate flux pen for your application (no-clean, rosin, or aqueous flux). The specific type of flux depends on your soldering needs and the type of components you are working with.
2. Clean the Surface:
Before applying flux, make sure the surface you are about to solder is clean and free from any debris, dust, or oxidation. Clean it with a lint-free cloth if necessary.
3. Prepare the Flux Pen:
- Remove the cap of the flux pen.
- Tap the tip on a flat surface to saturate the tip.
- If there is dried flux or other residue on the tip, rub it off on a wipe.
4. Apply Flux:
- Hold the flux pen like you would hold a regular pen or marker, with the tip facing downwards.
- Gently press the tip against the surface where you want to apply the flux. Be careful not to apply too much pressure as it may lead to excessive flux application.
- Move the pen across the area where you want to apply flux. The flux will flow out through the tip as you move it.
5. Soldering:
Once you have applied the flux, proceed with the soldering process immediately.
6. Clean Residue (if applicable):
If you are using a no-clean flux, it is designed to be left on the board without cleaning, depending on the requirements the electronics. If you used a rosin or aqueous flux, you should clean the board after soldering to remove any residue. Use a cleaning solution that is compatible with the type of flux you used.
7. Recap the Flux Pen:
After use, make sure to recap the flux pen tightly to prevent the flux from drying out or leaking.
What does conductive pen do?
Conductive ink pens are specialized writing tools designed to draw circuits and create electrical connections on various surfaces. The ink used in these pens contains conductive materials (e.g. silver), which allow it to conduct electricity.
Here's what a conductive pen can do:
Here's what a conductive pen can do:
- Circuit Prototyping: Conductive pens are often used for rapid prototyping of electronic circuits. Instead of traditional methods like soldering, engineers can draw circuit traces directly onto a PCB using the conductive pen.
- Repairs: These pens are useful for repairing damaged or broken circuit traces on electronic devices or printed circuit boards (PCBs). By drawing a new conductive trace with the pen, one can restore the electrical connection without requiring complex rework.
- Low-voltage Electronics: Conductive pens are suitable for low-voltage applications, such as wearable electronics, simple sensors, touch-sensitive interfaces, and other electronic projects that don't involve high power or high-frequency signals.
Articles

Repair Pens Make PCB Repair Fast & Easy
TraceTech board repair system allows technicians of any level to quickly perform quality board repairs in-house, and without using either expensive equipment or time-consuming and unsightly jumpers. You only need 5 pens to perform critical PCB rework and repair at your workstation:
TraceTec...
Read This Post
Videos
Techspray - US office
8125 Cobb Center Drive
Kennesaw, GA 30152, United States
1-678-819-1408
Toll-Free: 800-858-4043
Fax: 770-424-4267
Techspray - China office
ITW Specialty Materials (Suzhou) Co., LTD
Suzhou, Jiangsu, CN
008651282060808
Techspray - European office
ITW Contamination Control EMEA
Saffierlaan 5
2132 VZ Hoofddorp
The Netherlands
+31 88 1307 400
info@itw-cc.com
You did not finish submitting your information to request a sample